|
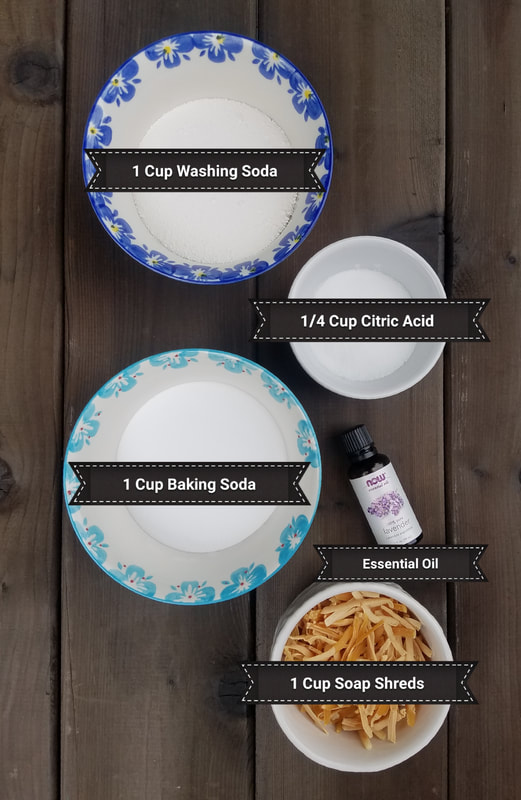
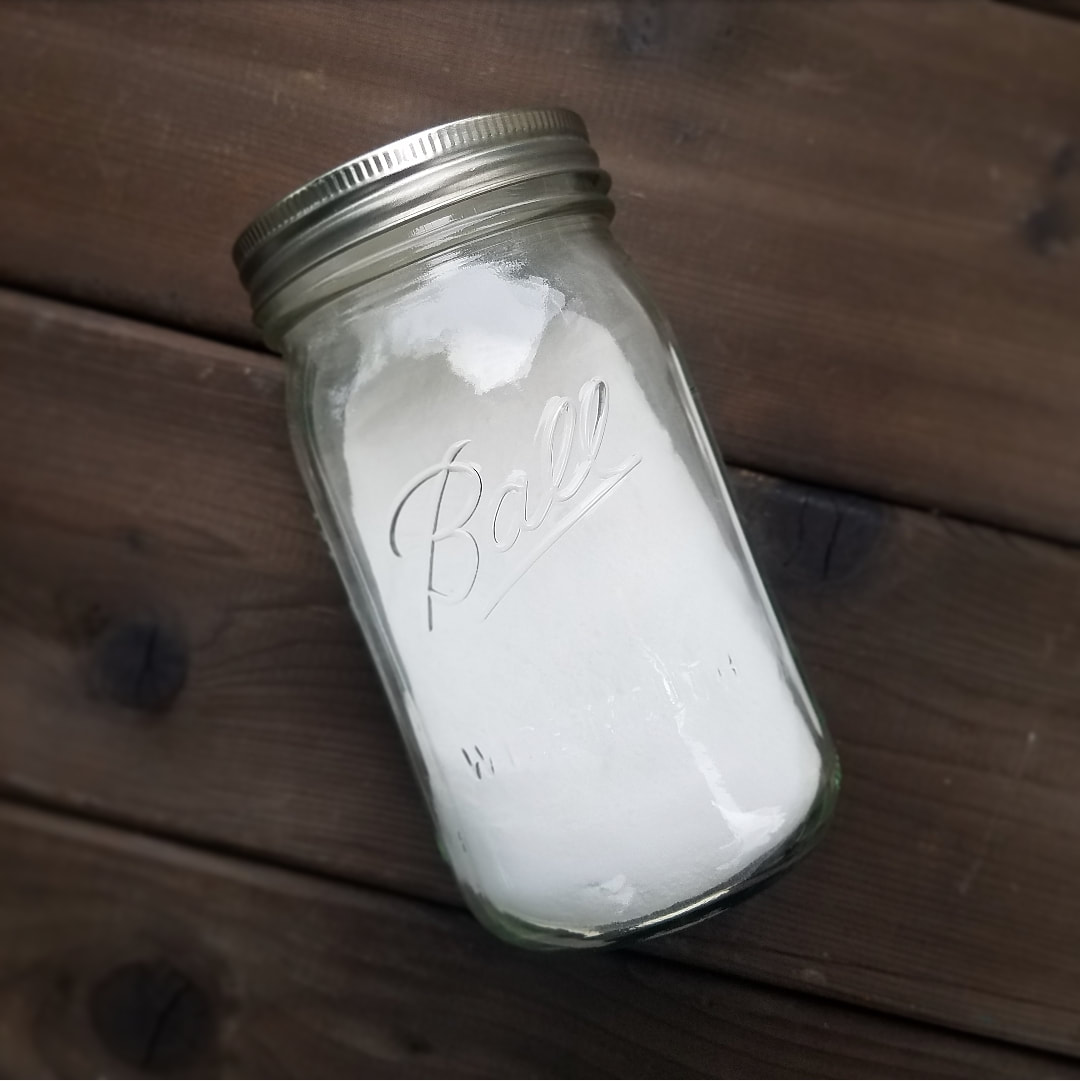
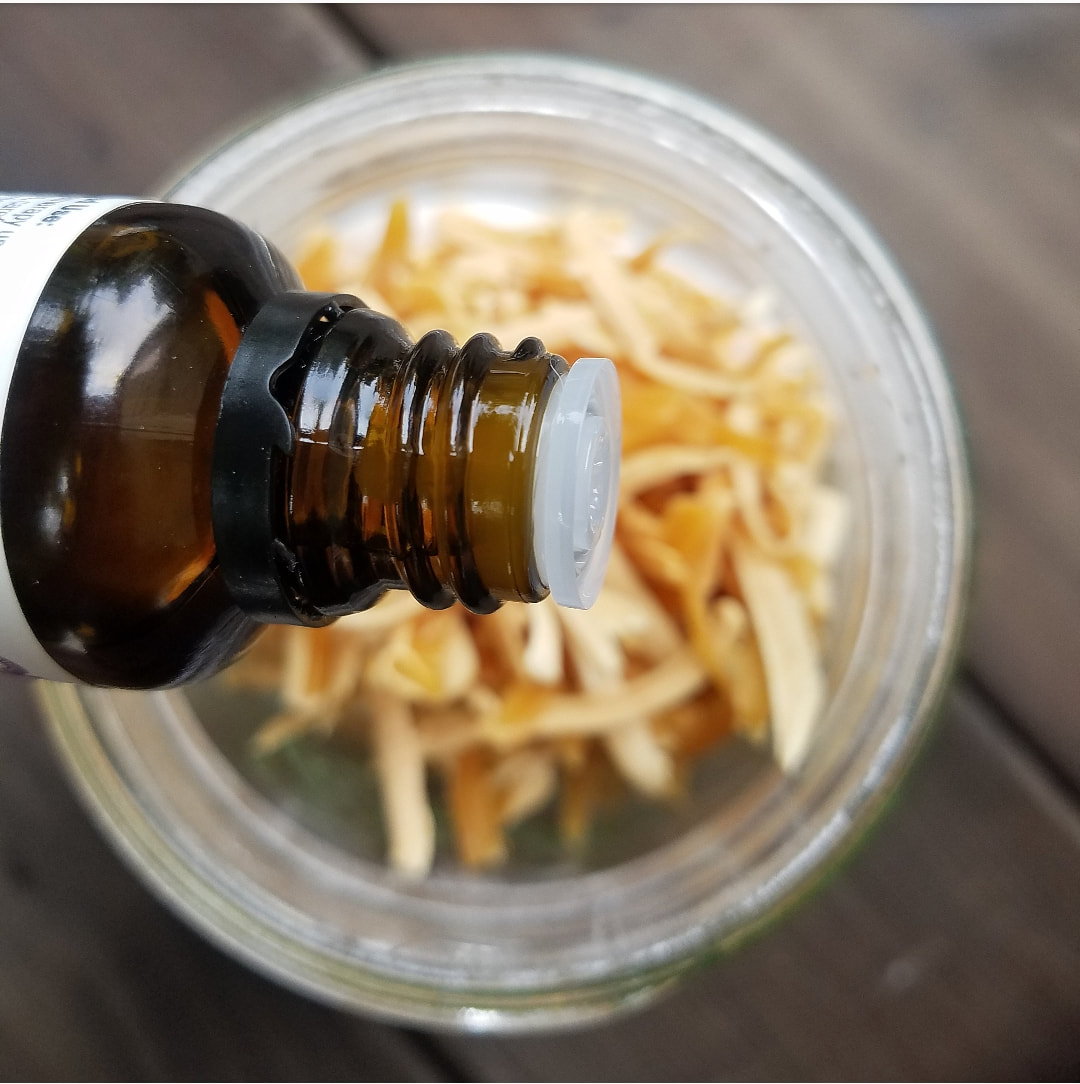
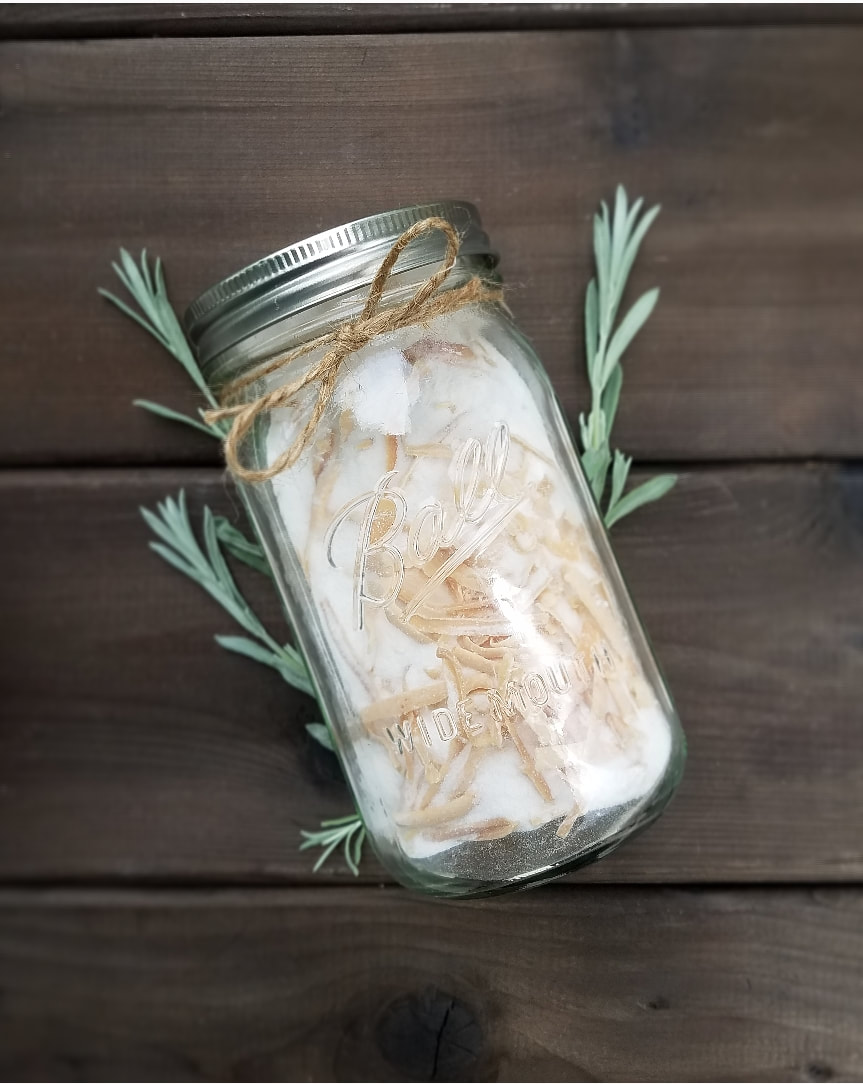
Switch from store bought to homemade! This DIY Natural Laundry Soap is a great natural alternative. You will cut down on your exposure to harsh chemicals and dyes. Another added benefit is that you will cut down on your plastic usage, which is always a plus in my book. A little about the ingredients: Sodium Carbonate or Soda Ash, Washing Soda is a common base ingredient in many laundry soaps. It works as a water softener & stain remover, It can also be found at most local grocery stores on the laundry isle. Baking Soda (Sodium Bicarbonate) is used as odor neutralizer, This is help freshen up your laundry and can also be found at your local grocery store in the baking isle. Citric Acid, which is naturally found in common fruits and vegetables, works as a natural stain remover. (This ingredient is usually available in the canning section of your store.) Natural Soap Shreds, used for cleaning and refreshing your clothes. Instructions:Take all the dry ingredients and pour them into a quart sized mason jar. Place the lid on and give the jar a good shake to incorporate. Remove the lid and add the soap shreds to the dry mix. Add your essential oil to the mix. I used Lavender for this tutorial because of it's antibacterial properties, but you can choose whichever essential oil you like. Add 20 to 40 drops of essential oil, depending on how strong you would like it. Place the lid back on and give it another good shake. And you're done! It's that simple!
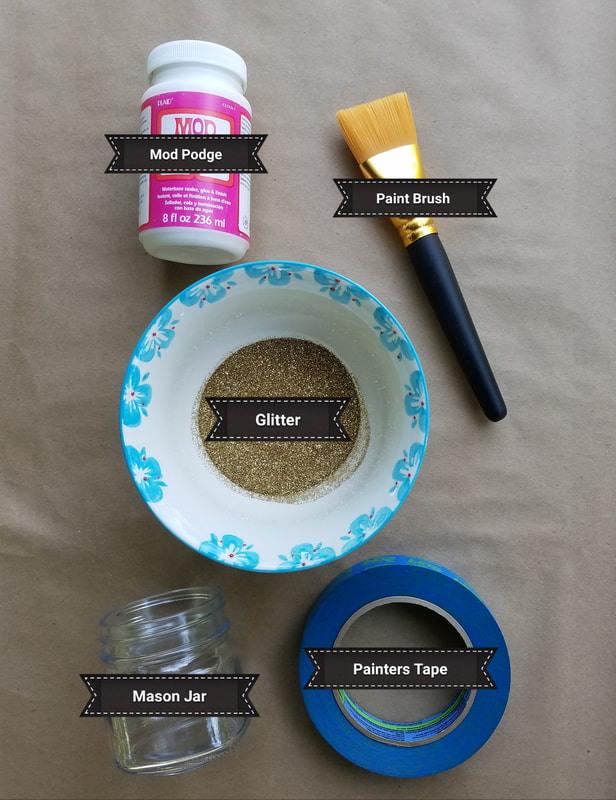
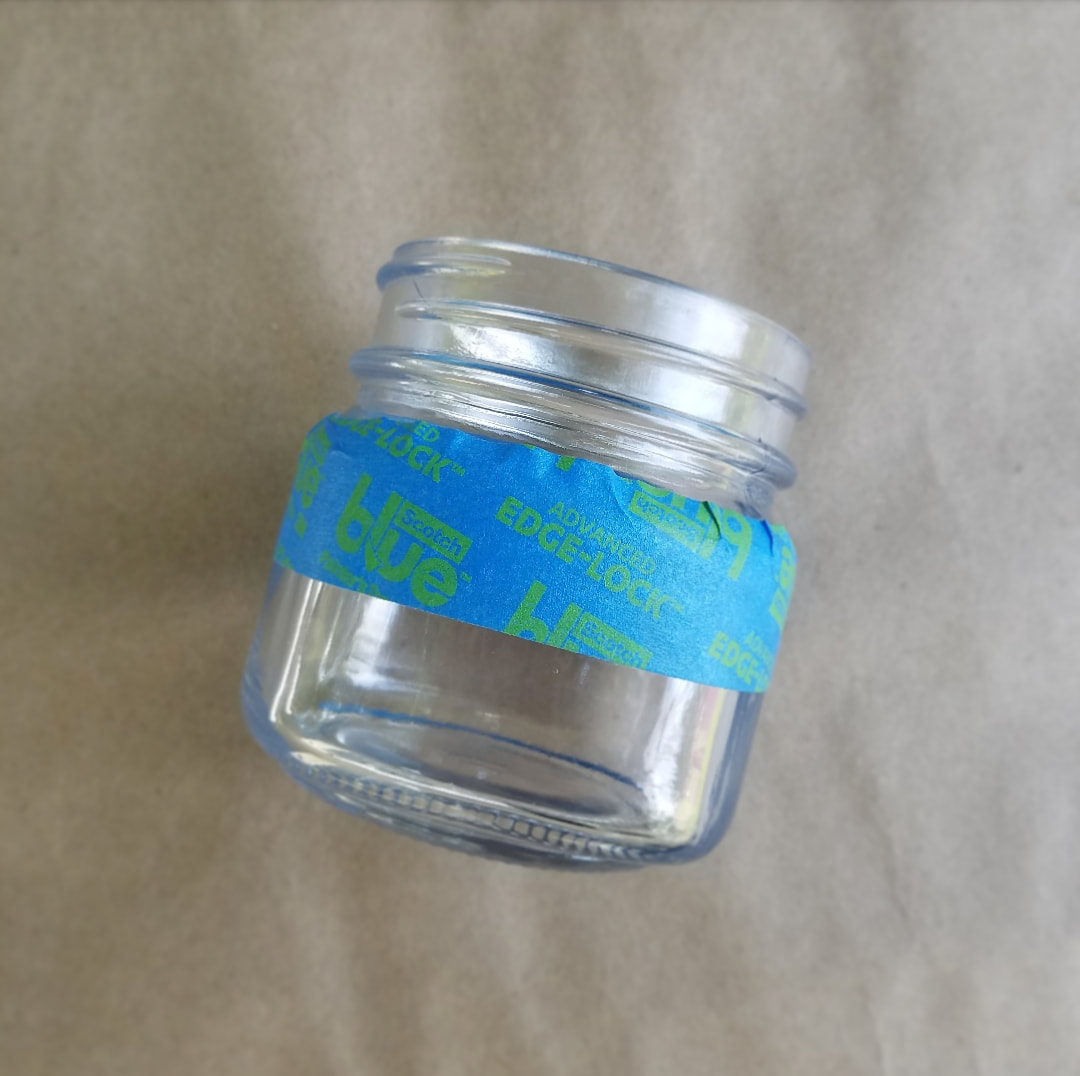
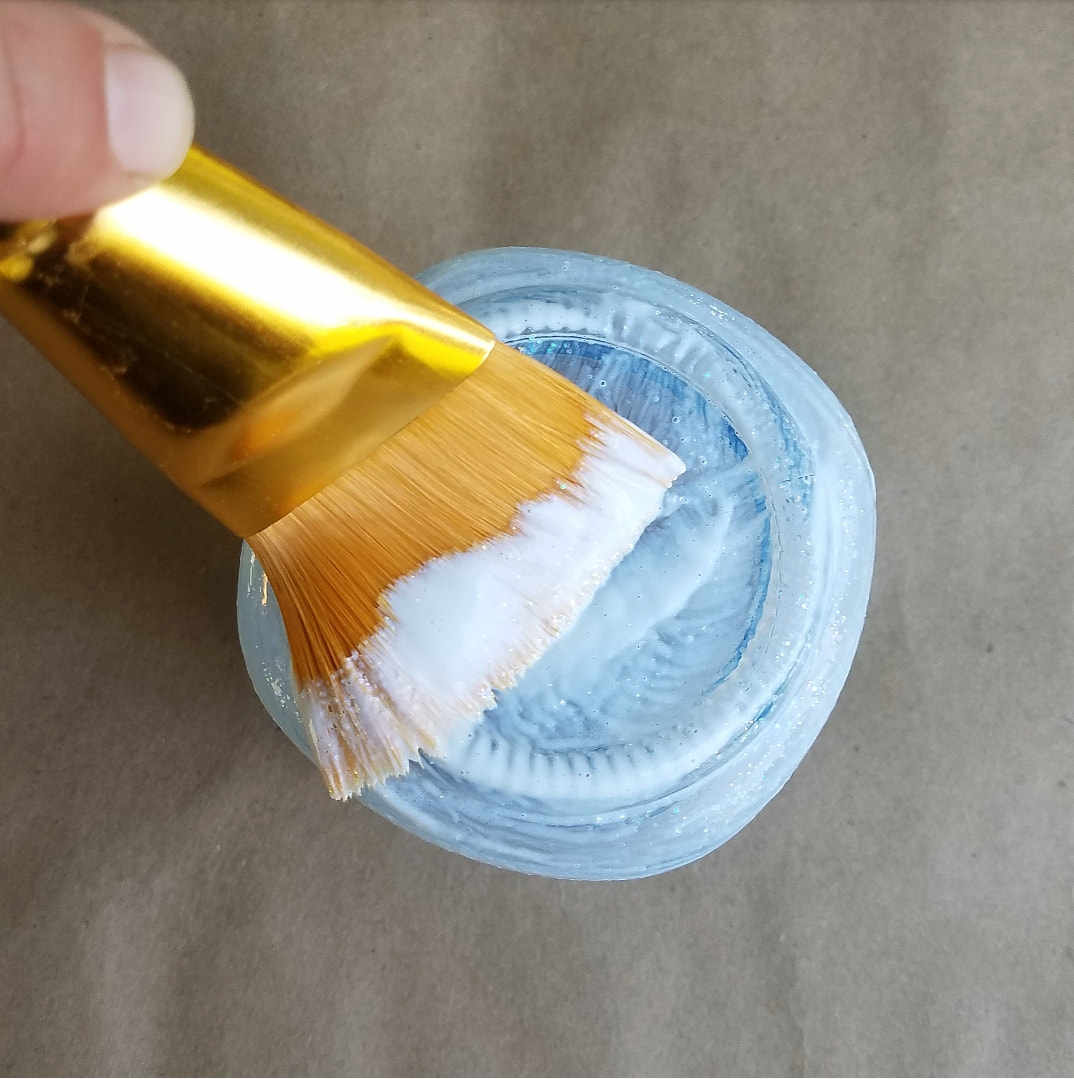
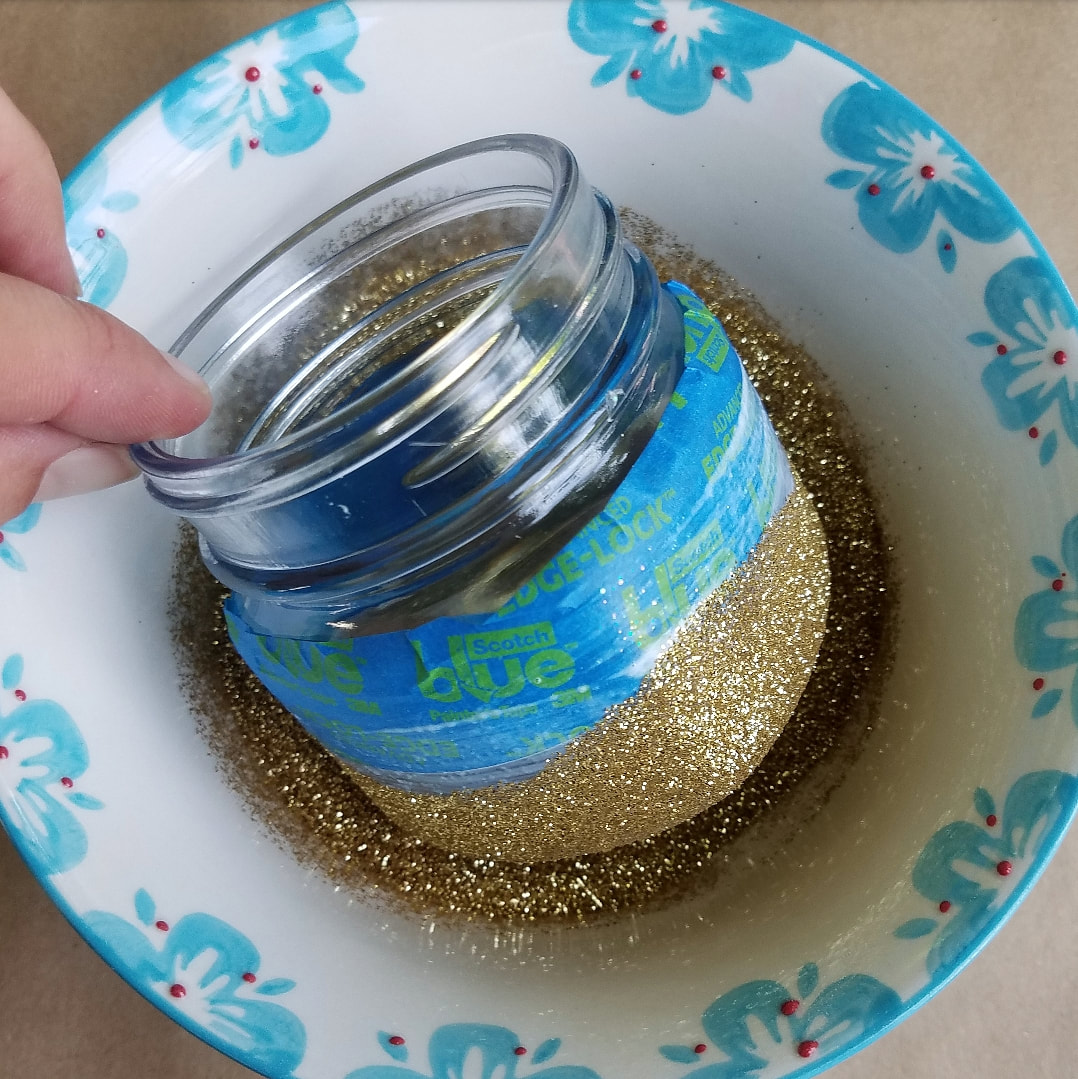
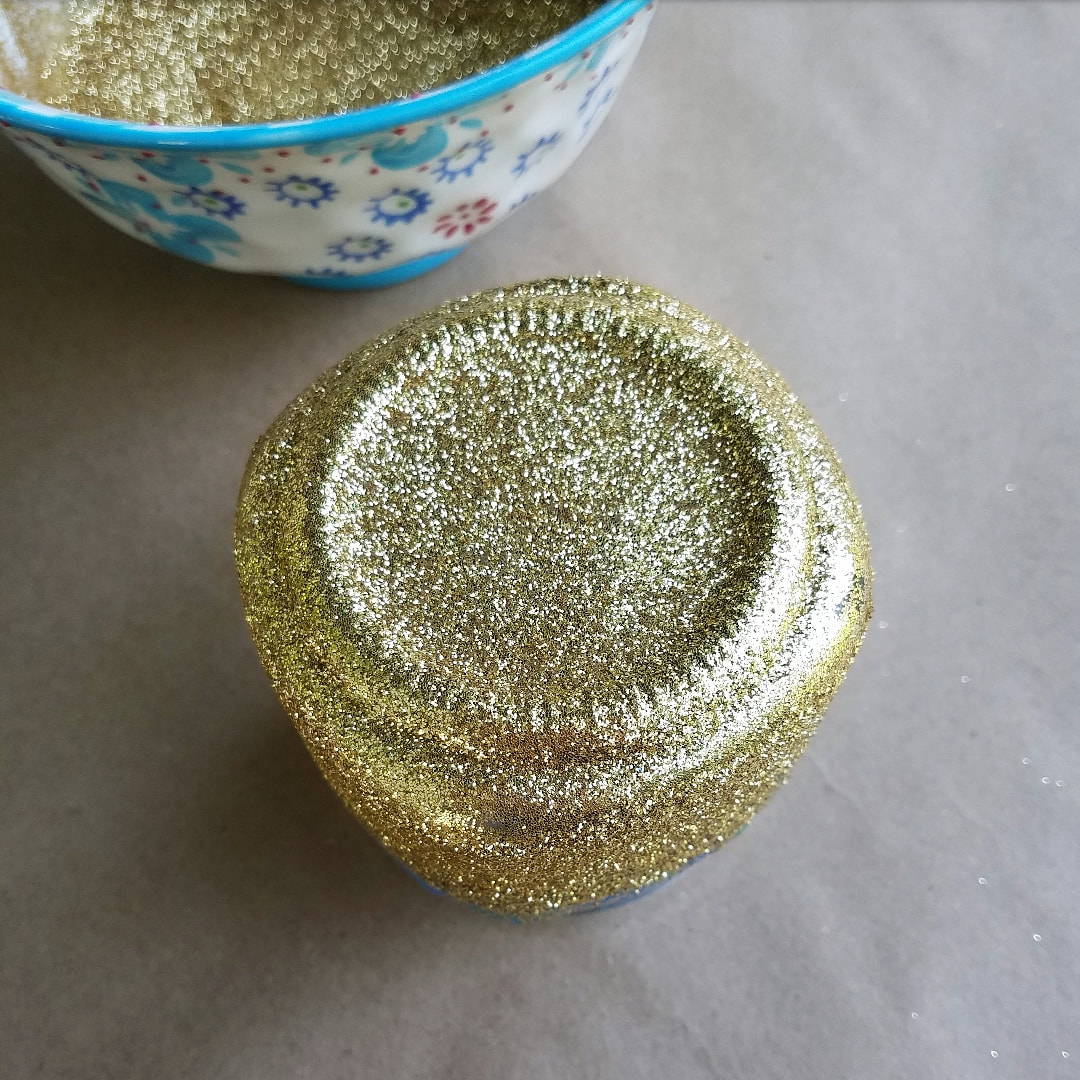
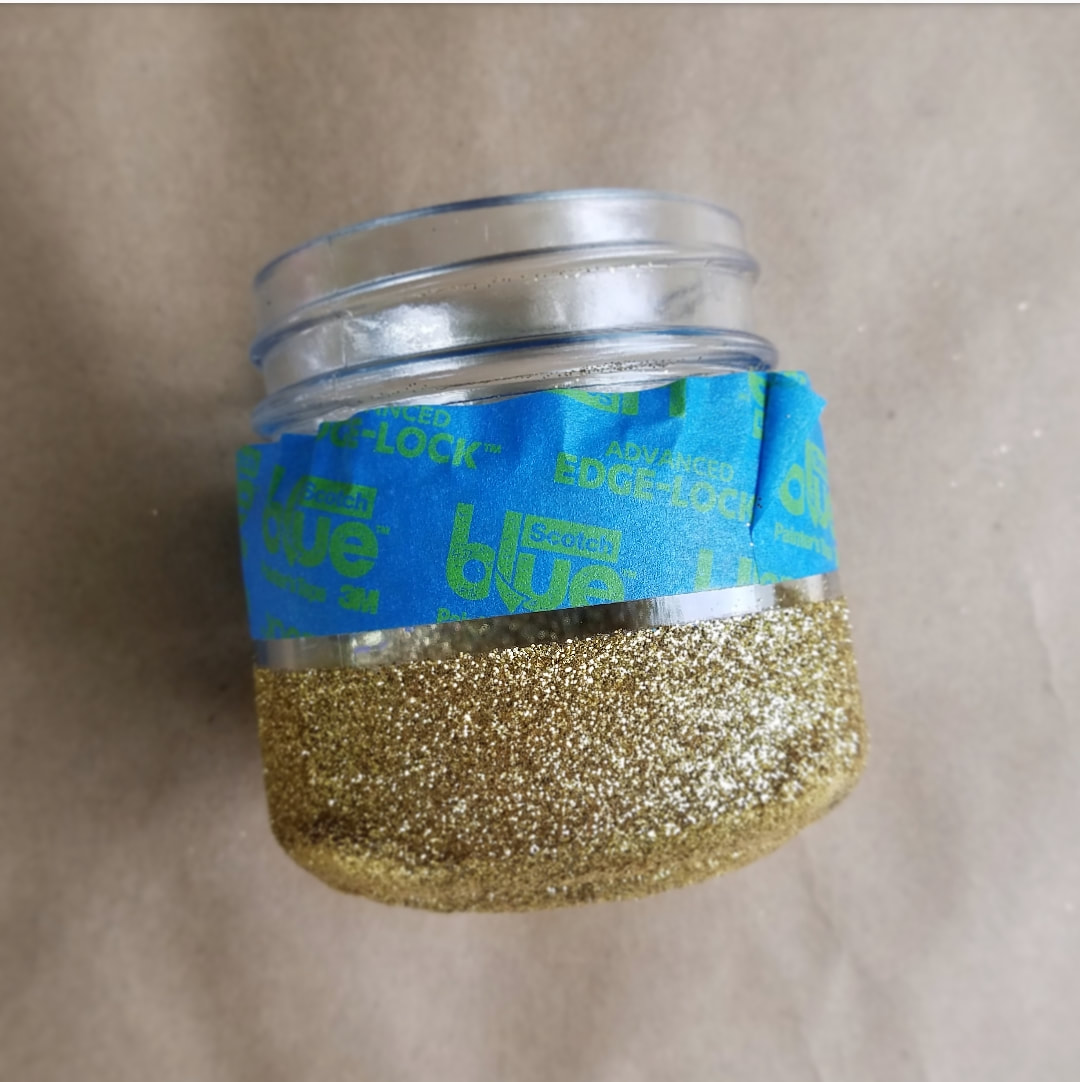
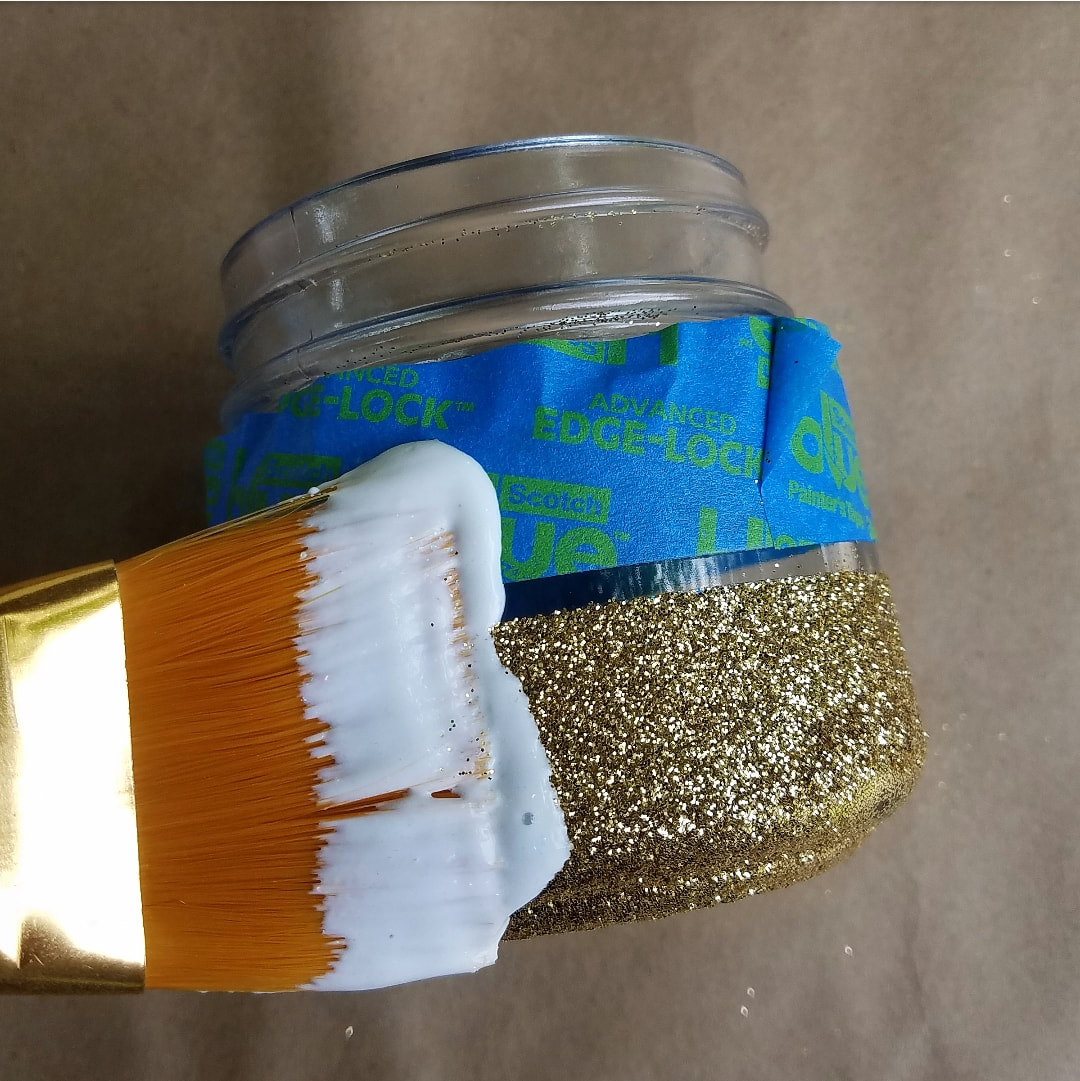
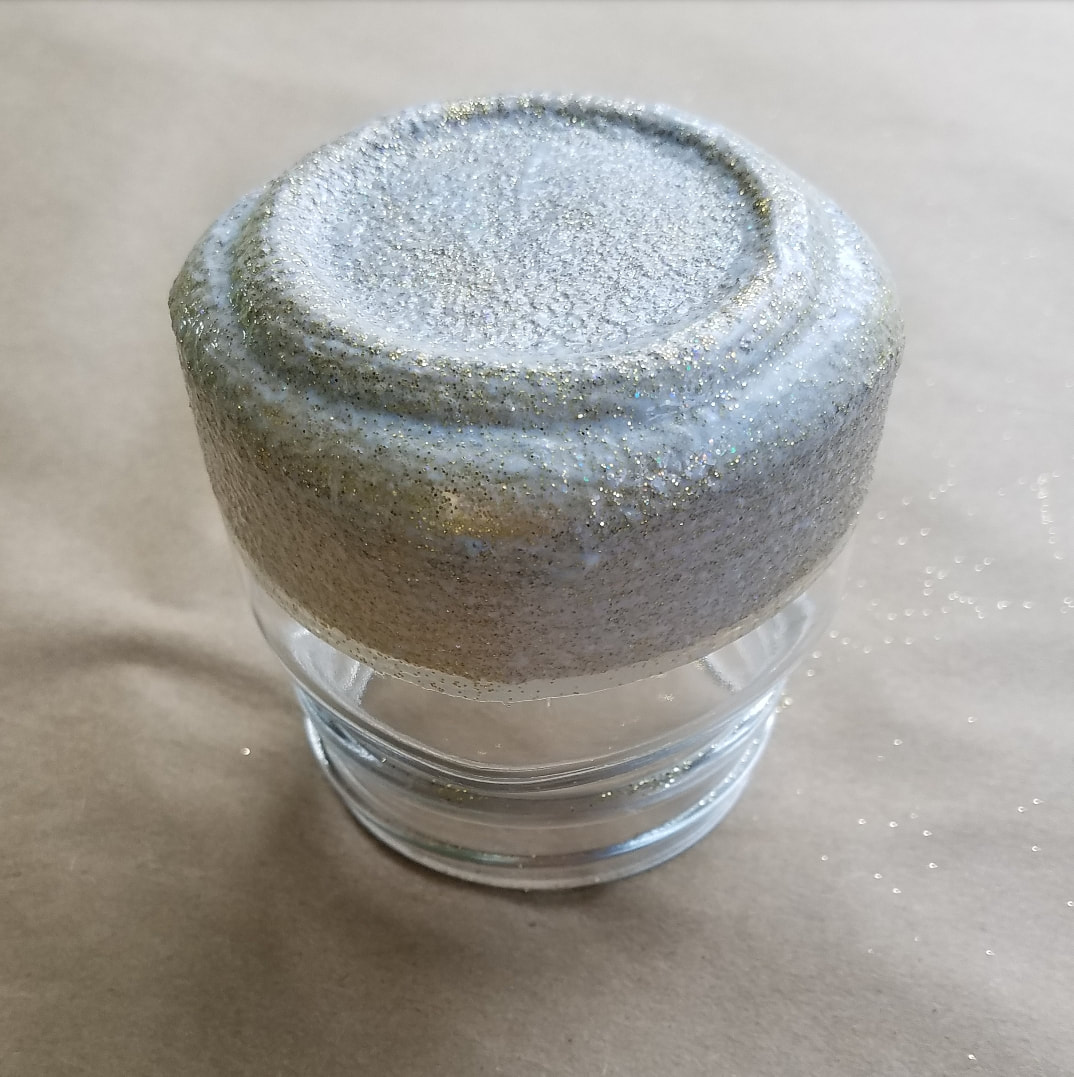
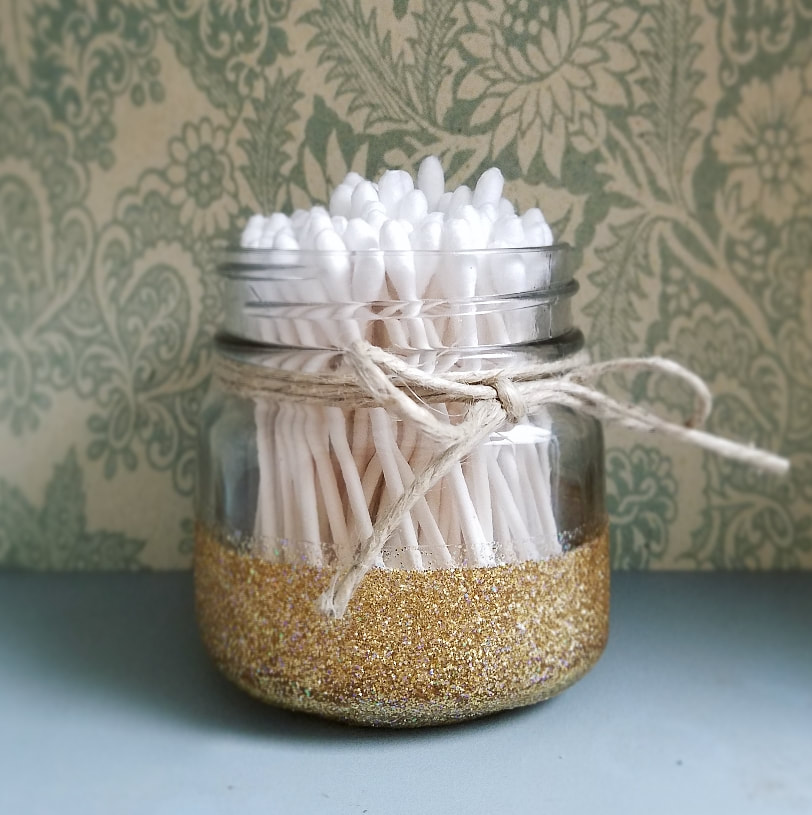
To use: add 1/4 Cup to your load and wash. * I like to add Organic Apple Cider Vinegar to my fabric softener compartment. This helps replace the need for dryer sheets. I promise your clothes will not smell like vinegar! Another great alterative is wool dryer balls. Bearfoot Gypsy Soap Co. uses Mason Jars for Whipped Body Butters, Candles and more. Why? Because they are reusable! I love mason jars because you can use them for just about anything: Organizing, Decor, Drinking Glasses, and yes you can reuse them for canning jams and jellies as well. In this Tutorial we will be making Glitter Dipped Jars. These are so cute and super easy to make. You can even make them with your kids. Lets get started! Here's what you'll need: Place your painters tape about half way from the top, all the way around the jar. Press the tape down firmly with your finger tip to ensure it is tightly sealed. Paint an even coat of Mod Podge around the bottom half of the jar. Be sure not to paint to much on or it will drip. Holding your jar at the rim, gently roll the bottom half in glitter. Then set your jar upside down to dry. ( I let mine dry for 1 hour ) Once your jar is dry enough to work with, gently remove the tape and add a new line of tape 1/4 in above the old line. This will give a thin line with a frosted glass effect. Next, paint on a top coat of Mod Podge. Again doing an even coat, being sure not to over do it, so that it doesn't drip. This will seal on the glitter so that it doesn't rub off onto everything it touches. Remove the tape and set it upside down to dry again. Give the jar 24 hours to dry. Then you can fill it with whatever you need organized.
|
ShaynaDIY Natural Beauty & Home ArchivesCategories
All
|
 RSS Feed